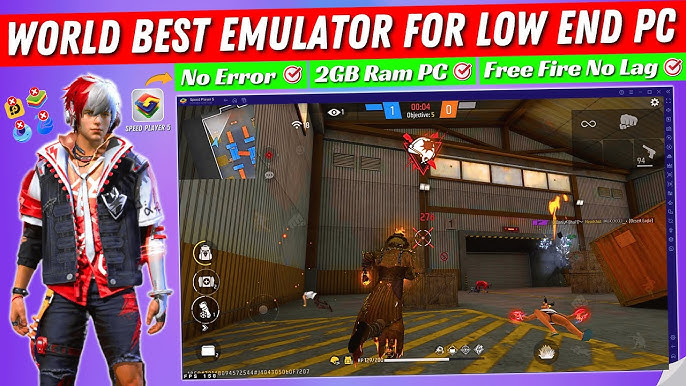
Free Fire is one of the most popular battle royale games, and while it’s designed for mobile devices, many players prefer to play it on a PC for a better gaming experience. To do this, you need a powerful emulator that allows you to run Free Fire smoothly, with optimized controls and high FPS.
In this article, we’ll explore the best emulator for playing Free Fire on PC, along with its features, system requirements, and how to set it up for the best performance. Let’s dive in! 🚀
🎯 Why Play Free Fire on an Emulator?
Playing Free Fire on a PC with an emulator offers many advantages, including:
✔ Better controls – Use a keyboard and mouse for improved aiming and movement.
✔ Higher FPS – Enjoy smoother gameplay compared to low-end mobile devices.
✔ Larger screen – Get a wider field of view to spot enemies easily.
✔ No battery issues – Play for hours without worrying about your phone overheating.
Now, let’s check out the best emulator for Free Fire in 2025!
🏆 Best Emulator for Free Fire: BlueStacks 5
BlueStacks 5 is the most optimized and powerful emulator for Free Fire, offering high performance, low latency, and customizable controls. It is widely used by pro players and streamers due to its stability and speed.
🔹 Key Features of BlueStacks 5
✅ High FPS Support – Run Free Fire smoothly at 90+ FPS for a lag-free experience.
✅ Smart Controls – Auto-lock cursor mode for quick aiming and shooting.
✅ Low RAM Usage – Optimized to consume less CPU and RAM, preventing lag.
✅ Multi-Instance Mode – Play multiple accounts or games at the same time.
✅ Customizable Key Mapping – Assign keys for smooth gameplay.
💻 Minimum System Requirements
To run BlueStacks 5 efficiently, your PC should meet these requirements:
🔹 OS: Windows 7/8/10/11 or macOS
🔹 Processor: Intel or AMD (Dual-Core or better)
🔹 RAM: 4GB (8GB recommended)
🔹 Storage: At least 5GB of free disk space
🔹 Graphics: Integrated or dedicated GPU for better performance
🔧 How to Install and Set Up BlueStacks 5 for Free Fire
Follow these steps to install and configure BlueStacks 5 for the best Free Fire experience:
1️⃣ Download and Install BlueStacks 5
🔹 Go to the official BlueStacks website 👉 www.bluestacks.com
🔹 Download BlueStacks 5 and run the installer.
🔹 Follow the on-screen instructions to complete the installation.
2️⃣ Install Free Fire on BlueStacks
🔹 Open BlueStacks and log in with your Google account.
🔹 Go to the Google Play Store and search for Free Fire.
🔹 Click Install and wait for the game to download.
3️⃣ Optimize the Emulator Settings
For the best performance, adjust these settings in BlueStacks:
🔹 CPU & RAM: Set to High (4 CPU Cores, 4GB RAM or more)
🔹 Performance Mode: High Performance
🔹 Frame Rate: 90 FPS
🔹 Graphics Mode: Compatibility Mode (for smooth gameplay)
4️⃣ Customize Your Key Mapping
🔹 Go to «Game Controls» and select «Advanced Editor».
🔹 Assign WASD for movement, mouse for aiming, and custom keys for shooting, crouching, and jumping.
🔹 Save the settings and start playing! 🎯
⚡ Alternative Emulators for Free Fire
If you want to try other emulators, here are some alternatives:
🔸 LDPlayer
✔ High performance for low-end PCs.
✔ Advanced macro recording for automated gameplay.
✔ Good for Free Fire auto headshot tricks.
🔸 NoxPlayer
✔ Smooth and stable performance.
✔ Multi-instance feature for running multiple games.
✔ Supports gamepad controls.
🔸 MEmu Play
✔ Lightweight and fast emulator.
✔ Good GPU optimization for stable FPS.
✔ Supports highly customizable key mapping.
🎮 Final Verdict: Which Emulator is the Best?
🏆 BlueStacks 5 is the best emulator for Free Fire due to its stability, high FPS support, and customizable controls. However, if you have a low-end PC, LDPlayer or MEmu Play are great alternatives.
No matter which emulator you choose, optimizing the settings will help you get the best gameplay experience.
🔥 Ready to dominate Free Fire on PC? Download your preferred emulator and start playing today! 🚀💥
💬 Which emulator do you use for Free Fire? Let us know in the comments! 🎮

